

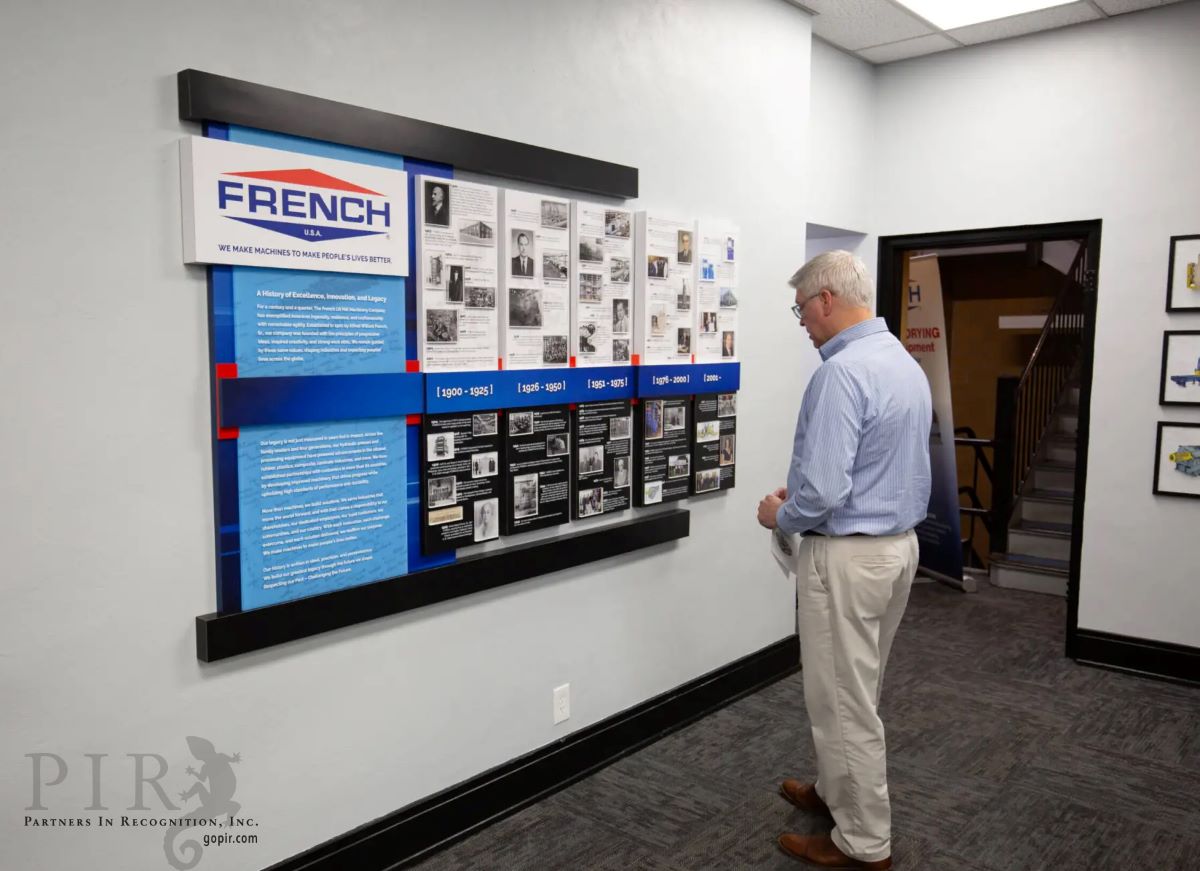
Your company’s story deserves to be seen. A thoughtfully designed history display is more than just decoration—it’s a powerful way to celebrate milestones, inspire pride, and strengthen your brand identity. Whether it’s greeting clients in your lobby or reminding employees in the breakroom of humble beginnings, a history display becomes a daily reminder of how far you’ve come.
Here’s a step-by-step guide to creating a display that’s both visually striking and meaningful.
Step 1: Choose the Perfect Location
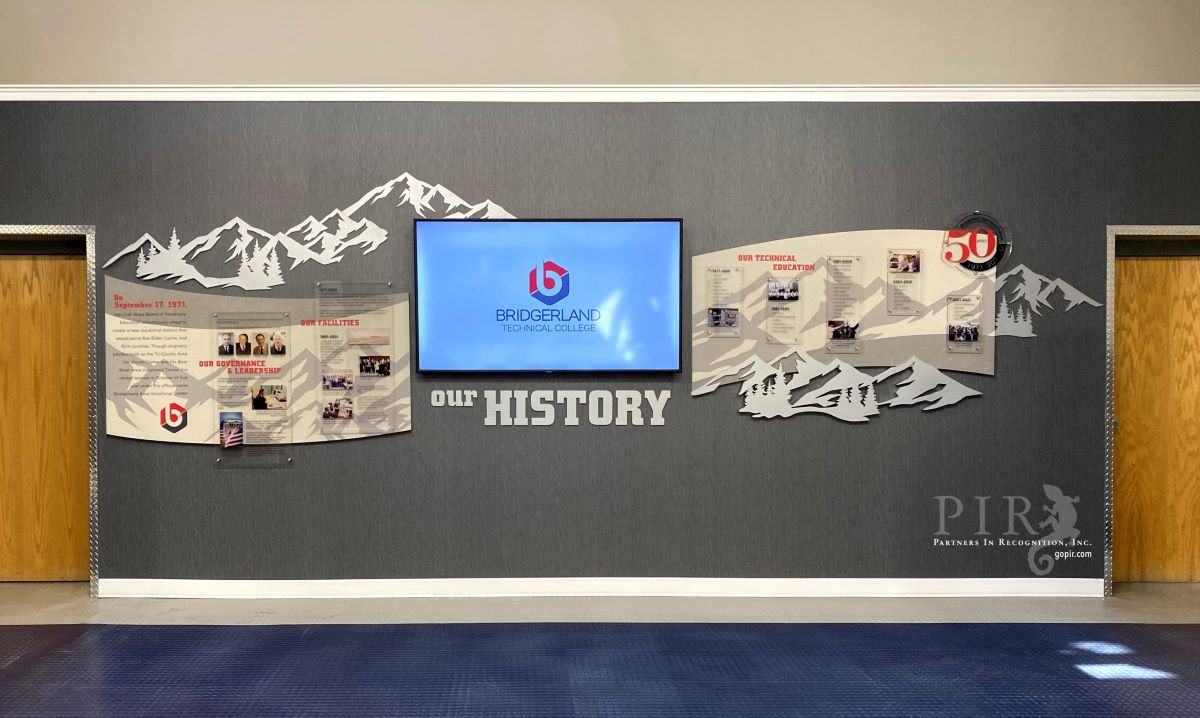
Visibility is key. If your organization regularly welcomes visitors, a lobby or reception area makes an ideal spot. For internal audiences, a hallway or breakroom that employees pass through often works just as well.
Think of your display as a statement piece—somewhere it can spark conversation and connection.
Once you’ve chosen the spot:
• Measure the full width and height of the wall
• Note the placement of outlets, vents, light switches, or other obstacles
• Take clear photos of the wall and surrounding space for your designer’s reference
Step 2: Collect Your Materials
This is where the fun begins—digging through your history! Look through archives, photo albums, marketing files, and even storage closets. Try to arrange items chronologically or group them by decade if that’s easier.
Ideas for what to gather:
• Photos of founders, facilities, construction, products, and events
• Newspaper clippings and press coverage
• Marketing materials, including past logo versions
• Small three-dimensional artifacts—products, awards, office tools, ledgers, etc.
Step 3: Identify the Highlights
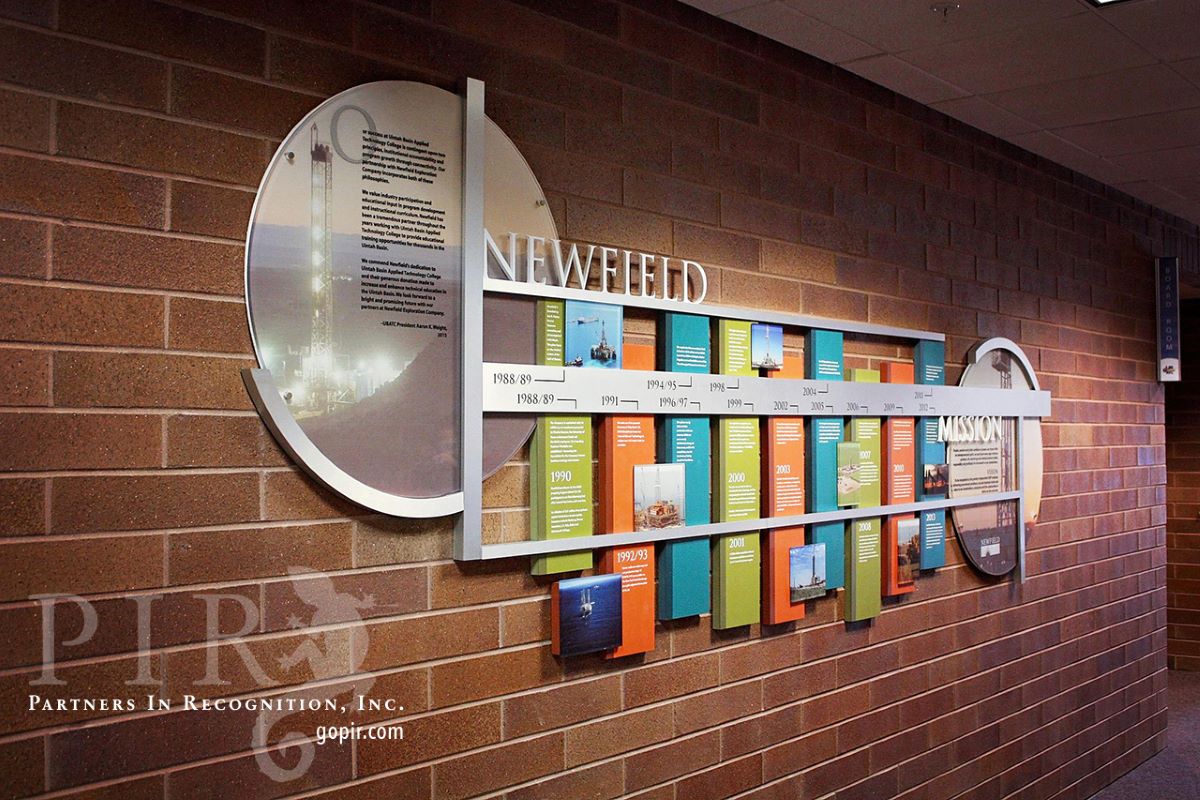
Not every item needs center stage. From your collection, decide which pieces are most meaningful and deserve emphasis. These will become the “stars” of your timeline, with the rest supporting the narrative.
Tip: Use sticky notes to mark the items you want prominently featured.
Step 4: Craft the Story
Your visuals need a voice. Write captions for key photos or artifacts and consider adding short narratives to connect different eras. Mixing short captions with richer stories makes the timeline more engaging.
Step 5: Bring in the Experts
Now for the easy part—let Partners In Recognition, Inc. handle the design and manufacturing of your display. Our consultants work closely with you to ensure your vision is clear, then our design team creates a custom layout—at no cost or obligation. You’ll receive both a design proof and a detailed quote, and we’ll refine the concept until it fits your style, goals, and budget
Step 6: Approve, Build, and Install
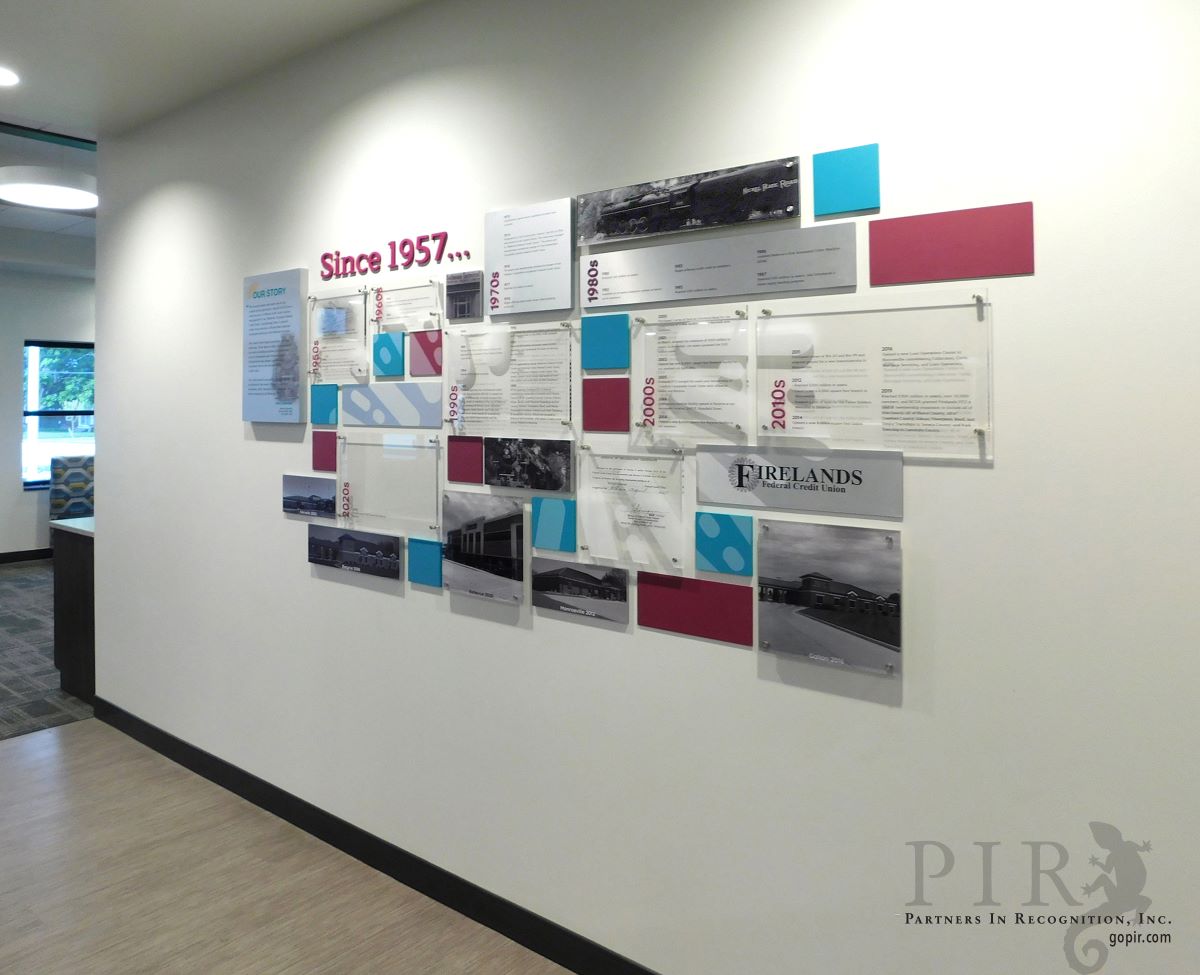
Once your design is finalized, here’s what happens next:
1. We enter your order
2. We create detailed proofs for each section and send them to you
3. You review, request revisions if needed, and approve the final version
4. We manufacture your display
5. Your display ships to you—or we can handle the installation for you
Step 7: Share and Celebrate
Once your display is up, make it a moment!
• Host a reveal event for employees, clients, or the community
• Share photos and stories on social media and your company blog
• Add a “History” section to your website with the display’s highlights
A corporate history display isn’t just about looking back—it’s about showing the path forward. It connects people to your mission, honors the journey, and becomes a daily source of pride.
To start your journey to a dynamic history display, contact Partners In Recognition, Inc.
info@gopir.com
https://gopir.com
Phone: 937-420-2150
